A tale of typos✍️, Tree Sitter🌳, and finally an LSP (Part-2)
A few months back I was asked to write an ETL (Extract, Transform, Load) framework at work, where I could run all my ETL jobs uniformly using a single codebase. We covered a simple code-gen CLI for this in the last blog. In this one, we dive deeper into an LSP and Advanced Tree Sitter Features.
Digging Deep#
Alright, so now that we know what tree-sitter does at a basic level, let’s dive deeper into what else we can do with it. If you haven’t given Part 1 a read, then I would highly suggest doing so, it will give you so much context. The problem at hand right now is typos and spelling mistakes and these often tend to be the silliest class of errors. Personally, these errors are especially difficult to debug when your config file starts to grow beyond a certain limit where a simple eye scan doesn’t yield a quick fix.
So what could we do to solve this issue? Well if we could have some IntelliSense on our config file then we can know which sections are present, and which settings are present in each section. A lot of people have a misconception that VSCode or any IDE has IntelliSense built in and it is VSCode that provides you these neat features. All VSCode does is act as a client; think of a client-server architecture where VSCode is the front-end, and the actual IntelliSense and other language features come from a server. This is the Language Server and the protocol which the client and server use to communicate is called the Language Server Protocol.
LSP huh. Tell me more about it!#
You can find the actual specifications for LSPs here. Some popular LSP’s are gopls, pylance, TS Server, etc. So just like you could build your client-server application, we could technically build our own LSP Server and make a VSCode client, so that our text editor, knows how to communicate with our server. From here on I will refer to the LSP Server as LSP itself.
So when we are on the Web, our mode of communication between the client and server would be some version of HTTP. But here both our client and server run locally, so we wouldn’t be using HTTP for this. We could, but LSPs use a few protocols. This is what the VSCode client, lists as the possible options.
export declare enum TransportKind {
    stdio = 0,
    ipc = 1,
    pipe = 2,
    socket = 3
}
So we can see here that LSPs could either use the standard input and output, IPC (interprocess communication), or receive commands that are piped in sockets. For the sake of simplicity, we can use the standard input and output, which is what I decided to go ahead with.
We have figured out what the data medium is, but how does the request look like, how does the response look like, and how would function invocations happen remotely? Well, this is where JSON RPC (Remote Procedure Calls) comes into play. For the longest time, I used to think RPCs were exclusive to only Protocol Buffers, packaged as GRPC by Google, but you could use just another serialization or deserialization format with it. Alright, now that we know what LSPs are, and how they communicate, we can go into the implementation, the fun stuff.
First off, a few resources that got me into this subject were ThePrimeagen’s stream where he built an LSP for HTMX, this video from JeffreyChup, and this video from TjDeVries. One could use something like tower-LSP or a go equivalent to get started with writing a language server, but I followed the tutorials and wrote mine from scratch(this was great learning btw).
After my brief stint with tree-sitter, I wanted to dive a little deeper into how I could leverage it to build an LSP. It is used extensively in neo-vim for syntax highlighting and source code parsing, so I wanted to use it as well. Let’s break down our action items one by one.
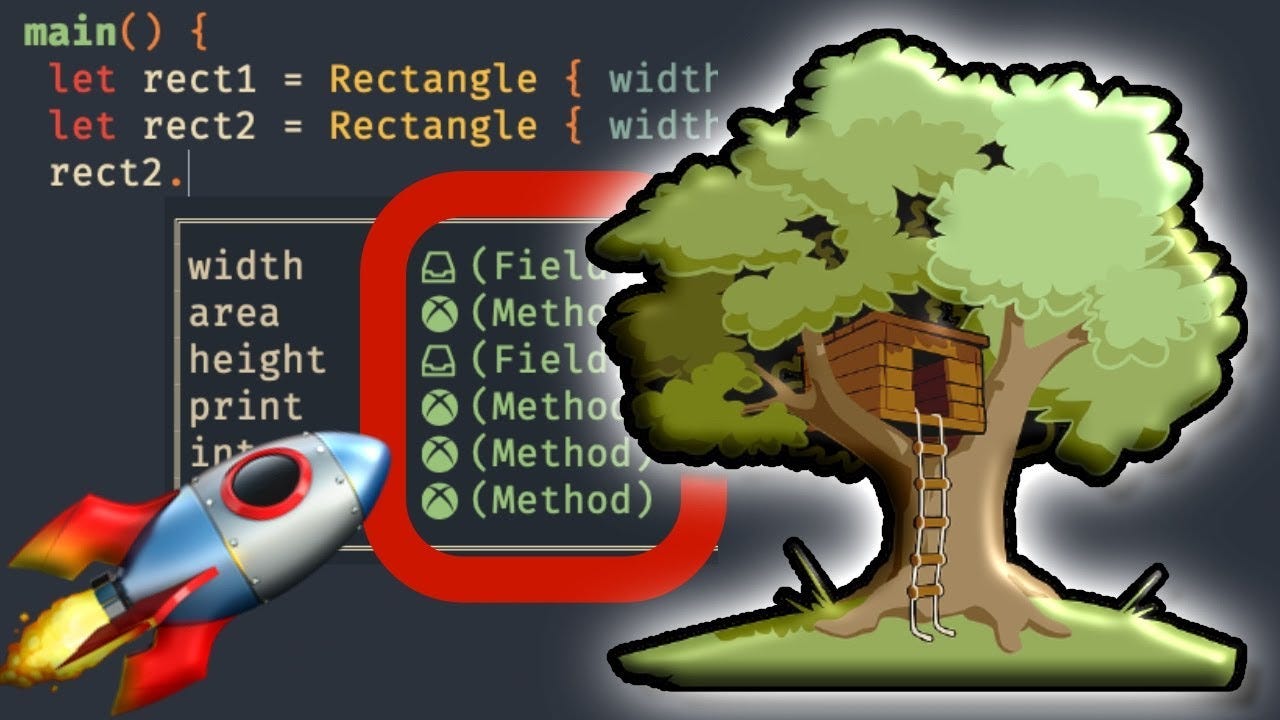
- We want textDocument/completion which will give us autocompletion for the options present in a section.
- We want textDocument/definition which will allow us to click on the option and go directly to its definition.
- We want textDocument/hover which will provide the actual value for the option in a hover window when we hover over the option.
- We want to update the document state, textDocument/didChange, and update our AST when we make a code change.
Impl Project#
Grug love tool. Tool and control passion separate grug from dinosaurs! Tool allows grug brain to create code that would not be possible otherwise by doing the thinking for grug. Code completion in IDE allows grug not to have remembered all API, very important!
Me being grug developer, so grug decide to build developer tools so grug no make mistakes.
Alright now, let’s jump into the implementation. Firstly I want to parse the “ini” file. Well, I could use some ini parser from the go package ecosystem, (I am using Golang to write the server btw) but I would have to read the file every time I get an update notification from the VSCode client. VSCode sends the modified source code, so I could just parse that, but I am not sure how I could parse a string or a byte array using the existing package.
This is where using the “ini” file was a good choice (not because it was easy, but it took significantly more work but again great learnings). Let’s break it down.
Tree sitter provides parsers but it also allows parser generation. Now the latter is interesting because you can provide a grammar for any language or DSL and, the tree-sitter generates the parser for that language. Tree sitter comes with parsers for “yaml” and “toml” files but not for “ini” files. So it’s time to define the grammar for “ini” files. Let’s look at how we can accomplish this and the methodology I used.
As per the tree-sitter documentation, to generate a parser, all you need to do is define a grammar.js file and define the language grammar using their DSL. So for an “ini” file format, this is how the grammar looks like
module.exports = grammar({
    name: 'ini',

    extras: $ => [
      $.comment,
      $._blank,
      /[\t ]/
    ],

    rules: {
      document: $ => seq(
        repeat($._blank),  // Eat blank lines at top of file.
        repeat($.section),
      ),

      // Section has:
      // - a title
      // - zero or more settings (name=value pairs)
      section: $ => seq(
        $.section_name,
        repeat($.setting),
      ),

      section_name: $ => seq(
        '[',
        alias(/[^\[\]\n]+/, $.text),
        ']',
        '\n',
      ),

      setting: $ => seq(
        alias(/[^;#=\s\[]+/, $.setting_name),
        '=',
        alias(/[^;#\n]+/, $.setting_value),
        '\n',
      ),

      comment: $ => seq(/[;#]/, alias(/.*/, $.text), '\n'),

      _blank: () => field('blank', '\n'),
    }
  });
The rules are simple, a section name is enclosed in square brackets"[]", and each section title is separated from the settings by a new line “\n”. Each section has settings and the key is to the left of the “=” sign and the value is to the right of the “=” sign. The repeat directive implies that there could be multiple sections and each section has multiple settings.
After this, we download the tree-sitter CLI and use these commands. The entire code for this can be found here
Luckily tree-sitter generates node, python, rust, and go bindings for our parsers. So I forked the go-tree-sitter-binding repository, and added my newly generated C parser files, and using “cgo” I now have a parser in Golang to parse “ini” files. This means I can now parse my “ini” file incrementally, update it and convert it into an in-memory data structure to provide IntelliSense, sweeet.
tree-sitter generate # generates the parser
tree-sitter playground #opens up a local playground to test the parser
- Alright so now we have a means of parsing the “ini” file, we already have a Python parser out of the box, so let’s start parsing. Now I present before you my grand scheme for preventing typos.
Inner Musings#
" I will parse my python file and get the code pieces where I actually retrive the keys from my config object, ( some context - the central config gets converted to a dictionary of dictionaries and I access each dictionary using the section name ). So when I do config.get(“setting_name”) right now, I make 1200 typos per file, If I use text completion, I can solve this issue. Plus I can hover on the setting to look at its values and click on it to go to its definition."
This is how we can accomplish this

(
  (call
    function: (attribute
   object: (identifier) @object
   attribute: (identifier) @method)
    arguments: (argument_list
   (string
     (string_content) @string_content
   )))
  (#eq? @object "config")
  (#eq? @method "get")
   )
As you can see we get the values inside the config.get("{setting}") function call and then go to our LSP to ask for autocompletion values. I won’t include every query in this project, but if you are interested, check out the GitHub repository. In practice, this is how my autocompletion looks like:
[extract_json]
type = extractor
directory = "input"
filename = "sample.csv"

This gives me nice autocompletion and prevents me from looking up my settings names against my config file every time I want to verify. Also, a nice little idea here is the comments which are prefixed with “lis-hint-".If you wish to have a different filename that does not follow the file URI conventions and still want autocomplete, you can add these little “ls-hints” to tell the LSP which section to look for.
I will add a brief video demo to the project readme, but here ends my long story of how simple typos drove me crazy to create an LSP. Hope you found this article engaging and exciting. If you liked it please do give some clappies, star the GitHub repo be a friend, tell a friend, until then see you in the next installation of “Tools, Terminal and TCP”